

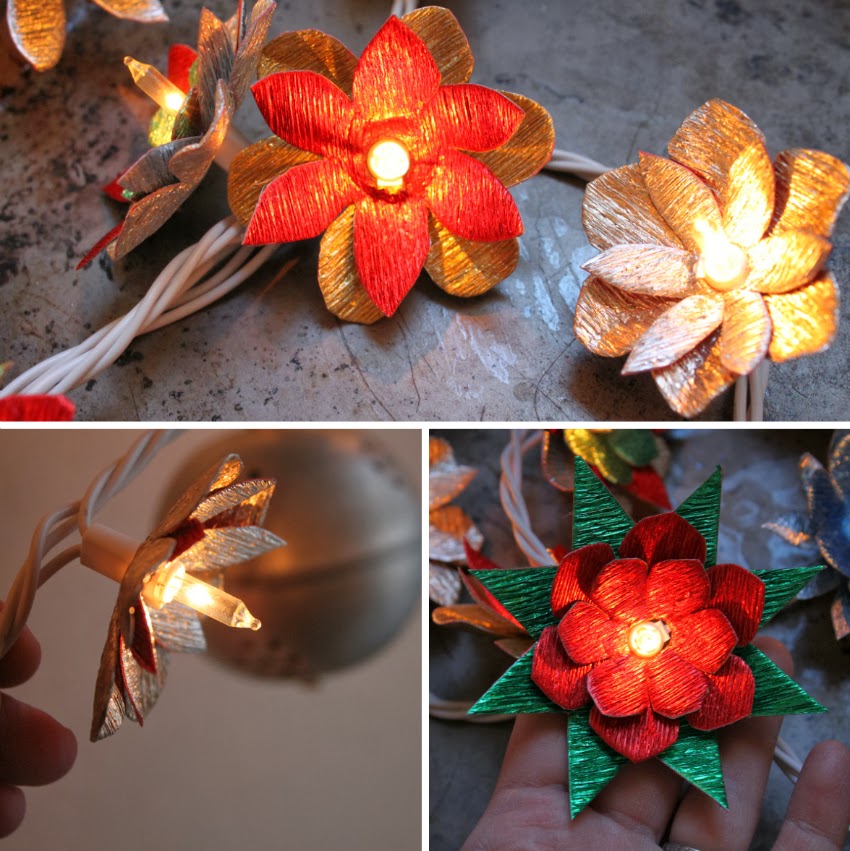
I am back with Carte Fini's December featured artist project and I can't wait to share it! In the latest copy of Martha Stewart Living magazine there is a small piece on vintage metal and foil bulb reflectors entitled "Powered Flowers". The reflectors are gorgeous, and when I saw the photo my eyes and brain just lit right up. I have been looking for another way to use all the wonderful jewel-toned metallic crepe papers that Carte Fini offers, and this was it. Their metallic papers have always screamed "vintage" to me, so making these shiny, mock-vintage, colorful flower reflectors seemed like a perfect fit. And they really work! The colors of the paper reflect back with the light of the bulbs making a wonderful, multi-hued glow. So festive!

This is a fairly simple project that can be completed in just a few hours, depending on how many reflectors you'd like to make. I am actually thinking of giving a set of these away as gifts. I had so much fun making them that I ended up making tons!
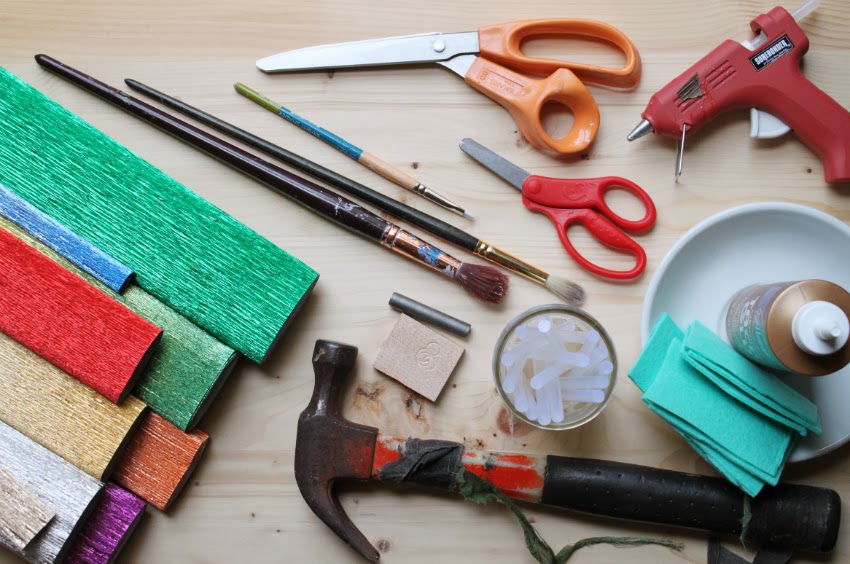
Hot glue and glue gun
Tacky glue
Chamoise-type cloth (for spreading the thick glue)
Scissors
Assorted paintbrushes (for glue touch-ups and hole stretching)
1/4" diameter cylindrical hole cutter and accompanying wood shock absorber from a grommet kit (see HERE)
Hammer or mallet
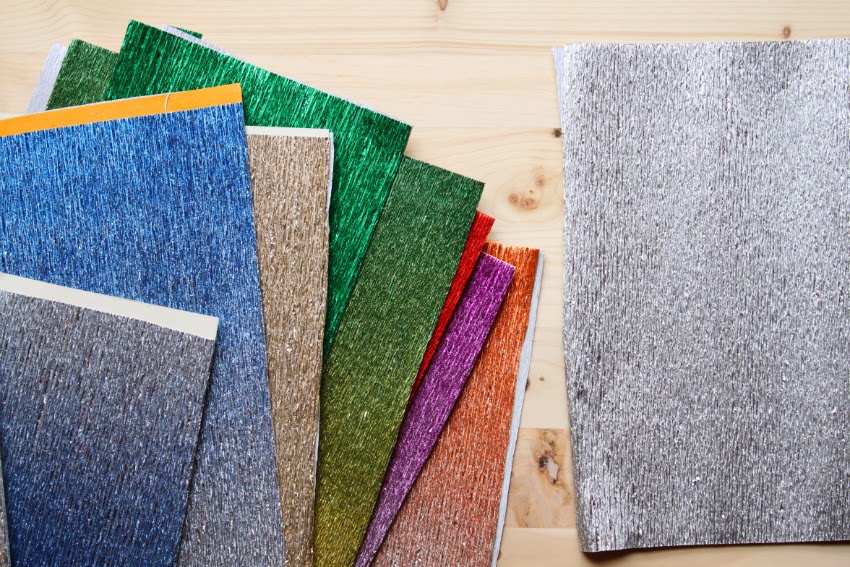
Carte Fini 180 gram metallic floral crepe papers in colors of your choice
I used so many colors: 801/2 (green/gold metallic nuance), 802 (silver metallic), 802/2 (midsummer blue/silver metallic nuance), 803 (red metallic), 804 (green metallic), 806 (champagne metallic), 807 (Venetian gold metallic), and a few others. Go crazy with it, there are so many great ones!
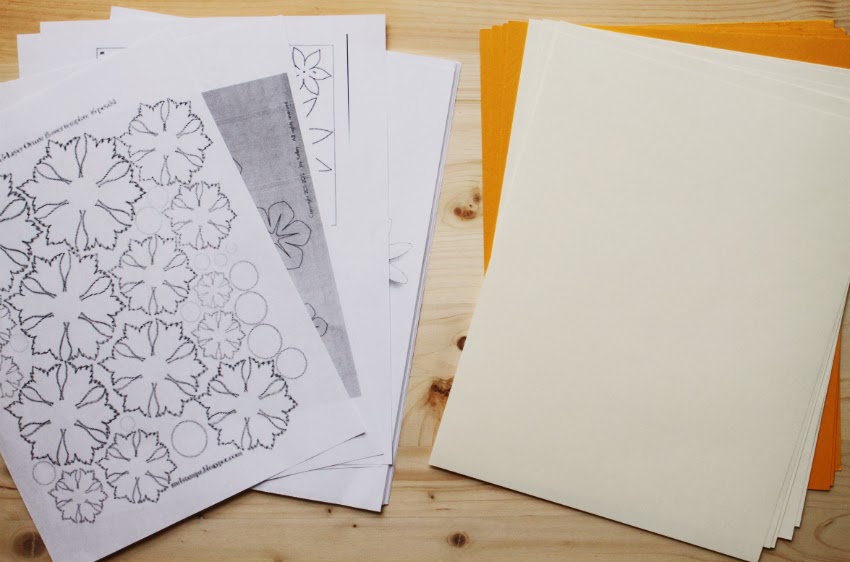
You will also need some flower template print-outs on regular paper and some card stock. I used cream and gold card stock, but gray would also be a good color. As you will see, the card stock is sandwiched in between two pieces of metallic crepe paper, so you only see a tiny hint of the card stock color around the edges of the reflectors. Of course you will also need a strand (or more!) of standard Christmas (twinkle) lights, in either green or white, your choice.
For the flower templates I just did an internet image search for "flower templates", which yielded dozens of simple flower outlines, and printed those images. The smallest flowers I made were about 1 1/4" in diameter, while the largest were around 3" in diameter. Grab a few different star templates while you are at it, they make excellent leaves.
The first thing you want to do is to stiffen the metallic crepe by affixing it to both sides of a sheet of card stock. This is what you will cut the flowers from. Start by cutting out two pieces of metallic crepe paper, each roughly the same size as your sheet of card stock. If you are using a super-rich crepe color like metallic red or green, you might want to put that on one side and a piece of silver or light gold on the other. Just for fun, and not always, especially if you are using the green as more of a leaf behind a flower. In that instance, green on both sides might look best. Play around, have fun!

After you've cut your two pieces of metallic crepe, you are ready to glue them to the card stock. Pour a pool of tacky glue into a dish or saucer, and using a piece of chamois cloth (or similar), apply a thin but consistent layer of the tacky glue to one side of the card stock with a wiping motion.

Set one of the pieces of cut metallic crepe paper on top of the glue-covered card stock and gently rub it in the direction of the grain of the crepe with your full hand to be sure the two layers stick together. Flip this over and cover the opposite side with glue, then attach the second piece of metallic crepe and rub with the grain like you did with the first side.


Set this now two-sided metallic paper sheet underneath a large, heavy stack of books for at least 20 minutes to flatten. Have several books in the stack so you can press several sheets at once without them touching each other.

Create as many of these metallic paper/card stock composite sheets as you would like in as many colors as you would like, just be sure to flatten them before beginning to cut them.
Now you're ready to start cutting out your shiny, beautiful flowers. I used the Martha Stewart Living photo as a guide for some of my shape and color combinations, but if you do an image search online for "vintage Christmas reflectors" you will find great examples there, too. Most of my pieces were either silver/gold or pointed in the direction of a poinsettia.

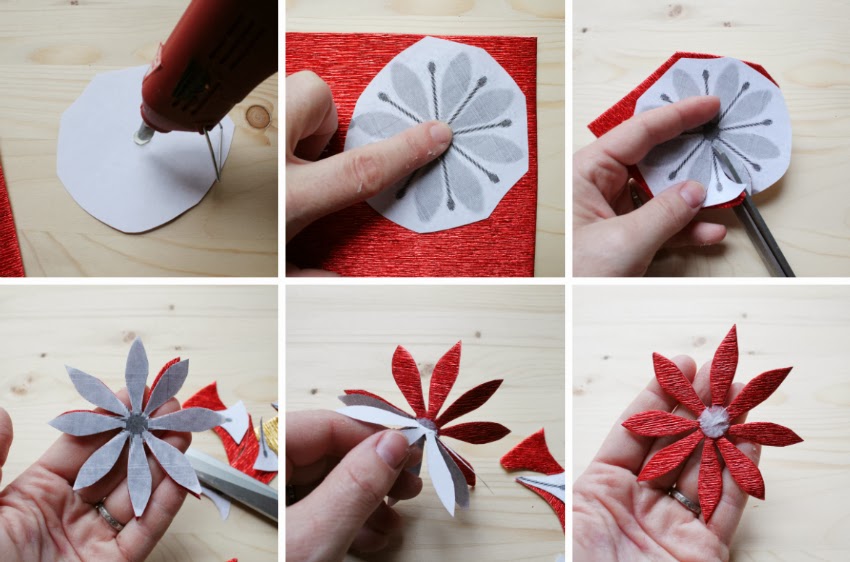
When you have selected a flower shape and color, place a small dot of hot glue on the back of the paper flower template, dead center. Press that onto one of the metallic sheets you created earlier, then cut out the petals. After you have cut out the flower, remove the template by ripping the paper of the template, not the metallic crepe paper. It will leave a dot of hot glue and paper, so be strategic when deciding which side of your metallic sheet to glue the template to. You don't want that residual paper facing up, unless it is going to be covered by another flower, which I will show you next.
I ended up rounding the pointy petal tips on this flower, but you can leave them pointy.
You can leave your flowers single-layered if you'd like, but I love the look of two or three flowers together. Here I used an eight-pointed star and a small camellia together for one reflector.
Once you get your flowers cut out, use the hole cutter and a hammer to punch a hole in the top flower. Apply hot glue to the back side of that hole and affix to the top of the next flower.

Punch a hole through the second flower, then start to bend and shape the petals upward into a concave reflector. Glue on the third layer if desired, and punch a hole through it as well. I used a tapered paint brush handle to stretch the holes JUST a tad to fit over standard green twinkle light bulbs. The white bulbs have an extra little piece of plastic jutting out, so to fit the reflectors over my them I had to make a slightly larger hole by cutting an extra sliver out of one side of the hole (see photo below at bottom right).

Fit the reflectors around the lights and plug them in. Voila! Perfect!

Like I said, I had fun and cut out dozens of flowers.
 Assemble as many reflectors as you'd like and string 'em up!


I got a little carried away the photos. They are just too pretty, and will be even prettier when we get our tree up this weekend, although I have to say they look good on the string of lights hanging in my kitchen right now!
I hope you all have a bright, colorful and wonderful holiday season! xoxo

Disclaimer:
This tutorial should not be used for any commercial purpose. We appreciate your understanding.


Michael Benson
Author